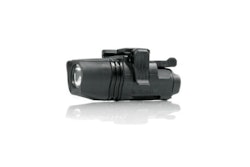
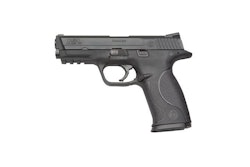
There are several “accepted” flashlight techniques that are taught for utilizing a powerful compact flashlight in conjunction with a firearm. Traditional combination techniques result in several things that I feel are detrimental to efficiency, consistency, and effectiveness in combat.
At The Valhalla Training Center and in the Combat Focus Shooting program, we teach officers to use the high-compressed ready position. When using a light with this technique, use the light to identify threats and the pistol as a pistol to engage them. But don’t combine these actions into one technique.
At Valhalla, we teach students to use the flashlight independently of the pistol, keeping it in close to their bodies near their off-hand shoulder, where it does not project out in front of their bodies. By shining the flashlight from this position, it is easy to direct it anywhere that your head can turn, including over your strong side shoulder by coming across your chin.
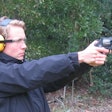
While your off-hand is shedding light on the dark areas of your environment, your strong hand is holding the pistol in the standard high-compressed ready position. From that position, the pistol can either be extended into a one-handed shooting position that is consistent with your standard (ambient light) shooting position or fired from a retention position in response to an extreme close quarters ambush.
You may think that a one-handed shooting position puts you at a disadvantage in terms of accuracy, but it really doesn’t in this scenario. It is unlikely that you will illuminate any threat with a compact flashlight that you cannot engage one-handed just about as well as you could two-handed.
And traditional flashlight techniques, are not really two-handed shooting. In my observation of shooters trying to utilize them during training, most use them awkwardly at best and do not show any significant improvement over one-handed shooting. In fact, most shooters slow down significantly with these techniques with no significant increase in accuracy over one-handed shooting at similar distances.
Consistency is the key to efficient dynamic shooting and trying to learn a third shooting position (not really two-handed or one-handed) works against consistency. Let your low-light/no-light shooting be another motivation for practicing one-handed shooting at close range. The day may come that you will need this highly underrated skill
One downside to the high-compressed ready position with a flashlight is that the light can shine off the back of your strong hand and firearm after extension. This casts a shadow on the target and can blind the shooter temporarily if his or her skin or firearm reflects enough light back. Using minimal light, aimed low at the target virtually eliminates this situation. Staying squared off toward the target and not blading also reduces the risk of aligning the light and your pistol.
Often, in low light there is plenty of ambient illumination for you to shoot at a threat but not enough to identify the threat in the first place. You can see the person, but not the lethal weapon in his or her hands. In this case, the flashlight can even be turned toward the floor or off as the pistol is extended and the target engaged.
As with all other aspects of tactical training, techniques must be practiced before they can be used efficiently. By limiting the options of ready and shooting positions, we make consistency easier and we can be effective faster during a dynamic critical incident.


