

How to Photograph Injuries
I've taught forensic photography to police officers for more than 10 years, and I always start my presentations with the notion that good photographs start even before the camera is out of the bag. You have to have the proper mindset because images documenting injuries are some of the most important photos we take.
I've taught forensic photography to police officers for more than 10 years, and I always start my presentations with the notion that good photographs start even before the camera is out of the bag. You have to have the proper mindset because images documenting injuries are some of the most important photos we take.
If you don't believe me, I recommend thinking about who is going to look at the photographs; they aren't just for our benefit. The prosecutor, defense attorney, judge, and, most importantly, the jury will scrutinize your work. Good composition, proper exposure, and attention to detail speak volumes about your skill and dedication. Just as sloppy, out-of-focus images give the impression of incompetence.
Time is of the Essence
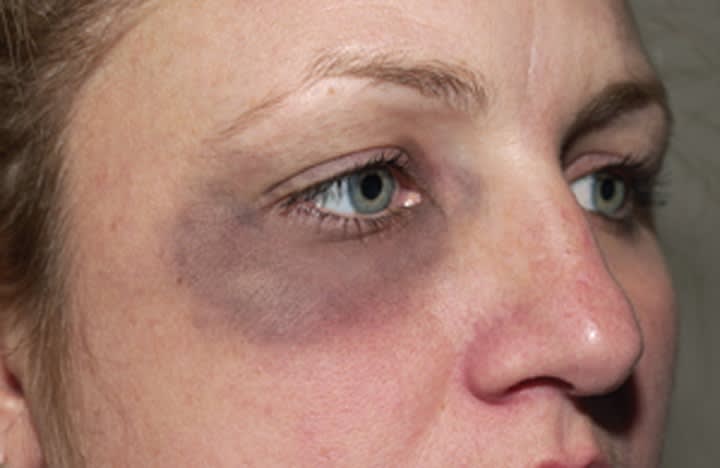
Injuries range from gunshot wounds to a slight redness on the skin and everything in between. Even a photograph of a minor injury can make a big statement in court. Because some injuries appear so minor, it's important to photograph them as soon as possible. I've seen domestic violence cases where the physical assault resulted in mild erythema or redness to the skin, but the injury never developed into a full-blown bruise. This redness can be quite defined early on, but can disappear quickly. In more serious cases a detective or criminalist may take follow-up photographs to document the progression and healing of the injuries.
Since patrol officers are generally involved on the front end, the photographs you take may be the best representation of an injury's severity. Also, remember that documenting injury on a suspect's body is just as important as documenting visible injuries on the victim's body.
The Process
Many of the guidelines we follow for crime scene photography also apply to documenting injury. Generally, it's best to start with overall photographs and then take closer, more detailed pictures. The first photo should always be a color cover sheet. These cover sheets have known color values that make color correction easier and more accurate.
A logical sequence of photos begins by taking overall photographs of the subject. I like to take overall photos from head to toe, assuming the subject is conscious and cooperative. Midrange photographs are next. For example, if a domestic violence victim has a black eye, midrange photos might include pictures taken from the neck up. Midrange photographs are important because they help the person viewing the photos to really understand where the injuries are located on the body.
Close-up photos are next. Close-up photos should be just that—taken so that the injury nearly fills the frame. This provides the most detail and resolution. One close-up photo should be taken without a scale and one should include some type of measurement device.
I'm partial to an ABFO (American Board of Forensic Odontology) bite mark scale for small injuries and a larger 90-degree scale for larger areas. In a pinch, almost anything can be placed near an injury to show scale—for example, an officer's business card. The precise wound size can be determined with the scale properly placed in the photograph. Being able to reproduce the actual size of the injury is important in cases involving any type of 1:1 analysis such as bite marks and comparison to known weapons.
Avoiding Bad Photos
It's critical that any scale or measurement device used is oriented properly in the photos. Just like with footwear and tire impressions, the scale must be parallel to the plane of the film or digital sensor. If the scale is at a significant angle off of parallel then it's nearly impossible to accurately measure the wound.
Another common mistake is holding or positioning the scale away from the subject's body. The scale needs to be the same distance from the camera as the actual wound. Often, officers hold the scale some distance in front of the actual injury. This creates a false scale in the photo because the wound is not in the same spatial plane as the measurement device.
Also, it's important to control the surroundings. Cluttered, busy backgrounds in photos are distracting. If possible, it's best to have the subject stand in front of a neutral colored wall. The victim or suspect should have a neutral expression in all the photographs. It simply looks more professional.
I've found that poor quality photographs are usually caused by the photographer and not the camera itself. I can't say it strongly enough: know your equipment. It doesn't matter whether your agency uses film or digital, most of the fundamental photographic principles are the same. Learn how to use all of the controls on your camera and you will start taking better photographs.
Choosing a Camera
My personal equipment preference for documenting injuries is a digital SLR (single lens reflex) with a dedicated macro lens and ring flash system. Of course most patrol officers aren't going to have access to this type of specialized gear. I've found, if used properly, point-and-shoot cameras can provide excellent results.
Digital cameras are particularly well suited to this kind of photography because the picture is instantly visible on the LCD screen. The immediate feedback is helpful in making sure the picture is good quality.
The minimum requirements for a digital point-and-shoot should include an optical zoom lens, at least three to four megapixels (most new camera models offer significantly higher resolution), good built-in flash, some sort of macro setting, and basic flash control. Many of these cameras also include more advanced features and settings.
Camera Settings
It's important to understand your camera's limitations. All lenses have a minimum focusing distance. This means if you take a picture at less than this distance the photos will be blurry. To help counteract this, most digital point-and-shoots have a macro setting, usually indicated by a flower icon. This macro setting allows the camera to take better close-up pictures because the lens is able to focus properly at shorter distances.
Also it's usually best to adjust the zoom lens to a longer focal length (not the wide angle setting). This does two things. First, it helps alleviate one of the most common problems we encounter when taking injury pictures: washed out photos. The washed out photos are caused because the camera is too close to the subject. At these small distances the flash tends to overexpose the image, robbing detail from the photo. With the lens set at a longer focal length the camera and flash are further away from the subject, allowing for far better flash exposure. If you still find that the flash is washing out detail, a simple remedy is to tape a piece of white tissue or paper in front of the flash. This diffuses the flash, reducing the overall light output and softening the light, thus providing better detail.
The second benefit of moving farther away from the subject (with the longer focal length setting) is that the resulting photograph will have much less optical distortion. Most zoom lenses exhibit barrel distortion at their wide angle settings. This makes the photo look unnatural because faces look distorted. That's why portrait photographers always opt for longer focal length lenses.
For those who want to take their skills to the next level, most digital point-and-shoot cameras offer more advanced features and settings. It's possible to manually set flash exposure compensation, white balance, and depth of field, just to name a few. If this is too much, just keep the camera on the automatic settings and you're probably going to do all right.
Your Job
It doesn't matter whether it's an assault, sexual assault, death investigation, homicide, traffic accident, or other type of case; our goal is to provide a true and accurate representation of the injuries visible to us. The bottom line is that there's no set number of photographs that must be taken to fully document injuries on the human body; the number changes on a case-by-case basis.
Of course, it's best to over-document injuries than under-document because you may only have one chance to get it right. It might be that one extra photograph you take that convinces the jury that the defendant is guilty.
David Spraggs is an investigator and firearms instructor with the Boulder (Colo.) Police Department. He teaches forensic photography and crime scene investigation, is a frequent contributor to POLICE, and serves as a member of our Advisory Board.
More Patrol

PositionPTT & Pryme Combine Communication Technologies to Deliver Distracted Driving Compliance
Pryme Radio Accessories and hardware/software maker PositionPTT join forces to advance hands-free communications and ensure Department of Transportation compliance using an integrated system of push-to-talk platforms, devices, and audio equipment.
Read More →
Justice Department Releases $25M in Law Enforcement Grants & Resources
The Office of Community Oriented Policing Services has just released $25 million in new grant Notices of Funding Opportunities (NOFOs) to support law enforcement. The recently released NOFOs include the Safer Outcomes: Enhancing Crisis Response Training for Law Enforcement Program and other grant programs.
Read More →
What Makes a Laptop Rugged or Fully Rugged?
What separates a rugged laptop from a fully rugged one? In this video, two Panasonic Connect experts explain the military testing, IP ratings, durability standards, and real-world features that help law enforcement officers rely on their computers in any environment.
Read More →
Avon Technologies Appoints Vasilios Brachos as Team Wendy President
Longtime ballistic helmet leader Vasilios Brachos has been selected to guide the next chapter of protection, innovation, and growth at Team Wendy.
Read More →
Brinc Raises $125M to Put a 911 Response Drone on Every Police and Fire Station Roof
The latest round of funding, $125 million, can help fuel Brinc’s mission to deploy 911-response drones at the 80,000 police and fire stations across the United States.
Read More →
Garmont Tactical Contact Collection: New Duty Boots for Law Enforcement
Choosing the right duty boot can make a significant difference during long shifts. In this video overview, Kyle Ferdyn, of Garmont Tactical, introduces the new Contact Collection, designed specifically for law enforcement professionals seeking comfort, traction, and durability.
Read More →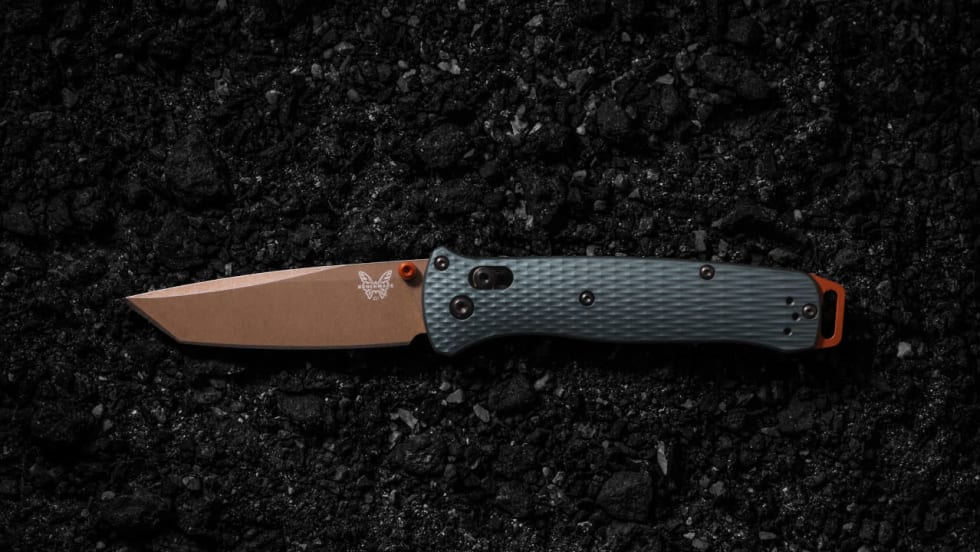
Benchmade Launches Taiga Green Bailout
Benchmade has launched its Taiga Green Bailout, which features an anodized aluminum handle, S90V stainless steel, and Burnt Copper hardware accents.
Read More →
Adept Armor Launches the Nova Titanium Combat Helmet: A Metal Ballistic Helmet at Composite-Helmet Weight
Adept Armor said its new Nova Titanium combat helmet delivers rated 9mm protection at 920 grams all-in, low backface deformation, edge-to-edge coverage, and an indefinite shelf life at roughly a quarter the price of premium polyethylene helmets.
Read More →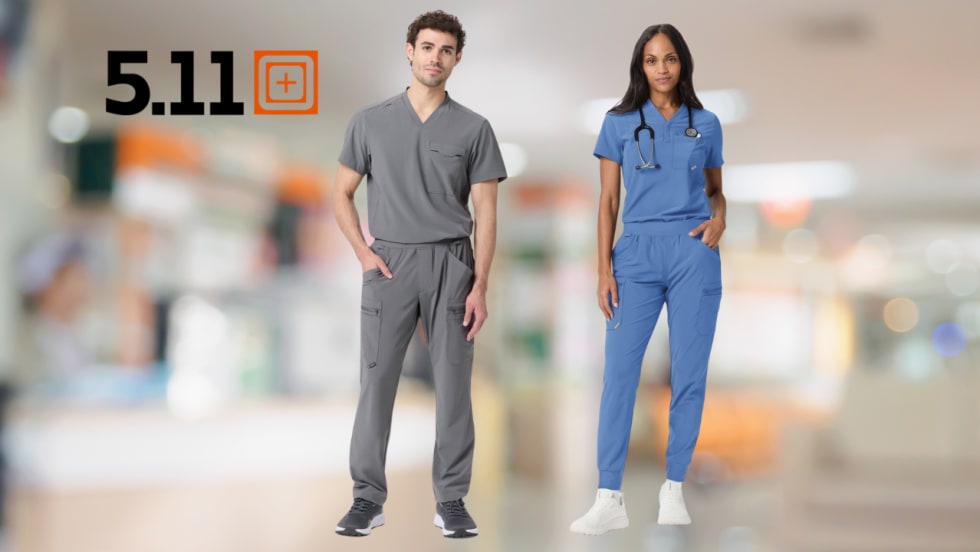
5.11 Expands Professional Services Line with Premium, Performance-Driven Scrubs Designed for Healthcare Professionals
The launch of high-performance medical scrubs marks another major expansion of 5.11’s growing Professional Services category, enabling hospitals and healthcare systems to outfit a wide range of roles.
Read More →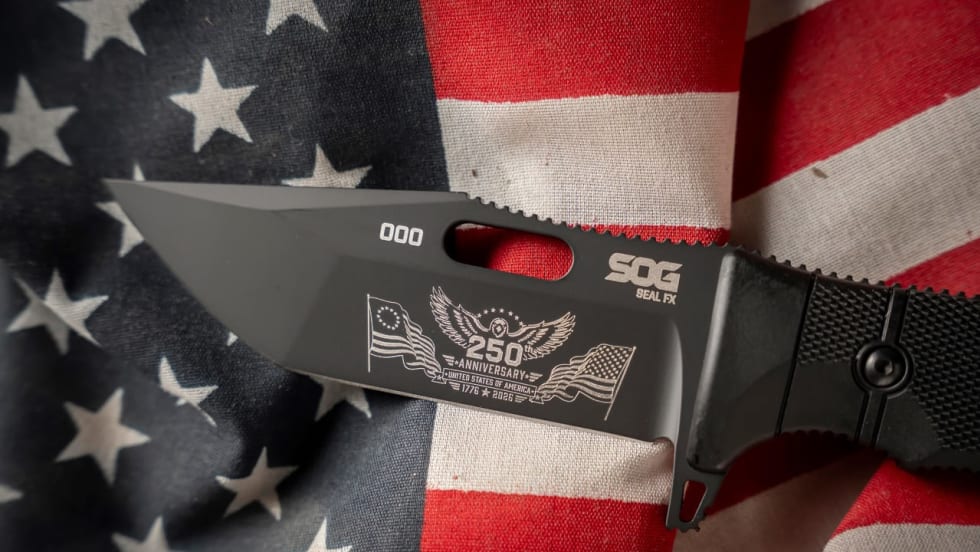
SOG Knives Unveils 250th Anniversary Limited Edition Fixed Blade
SOG Knives has debuted its 250th Anniversary Limited Edition SEAL FX Fixed Blade, and only 250 are available. It features an advanced 4.3-inch S35VN steel blade and a tough glass-reinforced nylon handle.
Read More →