

How To Lift Fingerprints
As the responding patrol officer it’s your job to properly process the crime scene, including locating, printing, collecting, and documenting all fingerprint evidence on scene — not necessarily an easy task.
A burglar climbs up to a balcony and pushes open the victim’s window. He pulls himself up and through the window opening. In the process the suspect leaves behind myriad fingerprint evidence.
As the responding patrol officer it’s your job to properly process the crime scene, including locating, printing, collecting, and documenting all fingerprint evidence on scene — not necessarily an easy task.
This article will provide some useful tips and tricks that should take your fingerprinting skills to the next level.
Fingerprints 101
Let’s start with the basics. A fingerprint consists of friction ridge skin unique to every person. This friction ridge skin is found on portions of the hands and feet. A latent fingerprint is probably the most common type of fingerprint we encounter in police work. It’s what the suspect leaves behind. Human skin contains glands that secrete numerous chemical compounds, including fatty acids, amino acids, and proteins. A latent fingerprint is created when someone touches a surface and deposits this mixture of organic materials, as well as other skin contaminants, onto the surface.
Latent fingerprints are not visible without some type of development. This development can be either physical or chemical. The goal is to make the latent fingerprint stand out against the background so the print can be collected and/or photographed. Ambient temperature and humidity, surface conditions, and the chemical makeup of the suspect’s body all contribute to the quality of latent fingerprints. There are no guarantees, but proper technique should increase the number of useable prints.
The Proper Tools
A patrol officer’s fingerprint kit doesn’t need to be overly complicated. You just need the basics: a fingerprint brush, black and bi-chromatic powder, lifting tape, and fingerprint cards.
Fingerprint brushes are a matter of personal preference. Although natural hair brushes and feather dusters are available, I personally use fiberglass brushes. These brushes are well suited for general patrol work. With their many tiny filaments, fiberglass brushes distribute the fingerprint powder evenly. They are also well suited for the spinning technique that I’ll discuss later in this article.
Basic black fingerprint powder is the best choice for most situations. It’s very fine and easy to work with. Bi-chromatic powder is a mixture of black powder and a lighter colored powder, like white or silver. Bi-chromatic is a must if you’re processing a very dark colored surface, as it allows you to see the print develop. Bi-chromatic powder looks dark on light-colored surfaces and looks light on dark-colored surfaces.
To lift the prints developed by powder, fingerprint lifting tape is available in various widths and compositions. General lifting tape is good for flat surfaces, while polyethylene tape is designed for curved surfaces such as doorknobs. Standard fingerprint powder works well on most smooth surfaces, including glass, most metals, non-porous wood, and plastics. Consult with your local experts regarding more advanced printing techniques on porous and other surfaces.
Processing Tips
The number one mistake officers make is over-processing the latent fingerprint. First rule: use less powder than you think you need. Because of this, I personally never place the brush directly into the powder jar. Instead, give the print powder jar a quick shake before opening the lid. Remove the lid and place the fingerprint brush inside the lid. The lid has enough powder to load your brush. Now the brush is ready to develop the latent print.
I gently spin the brush in my hand and apply light pressure on the surface to develop the latent print. Too much powder will overdevelop the fingerprint by filling in the ridge detail, while too little powder won’t provide enough contrast. Also, limit the number of brush strokes while developing the fingerprint. The brush itself can actually damage the print.
Once the latent fingerprints are developed, it’s time to collect the evidence. Depending on your agency and the type of case, the prints can be photographed before collection. It’s critical to apply the lifting tape smoothly and evenly.
My best tip is to use a credit card. I secure the lifting tape about an inch from the edge of the print. I then use the edge of a credit card to gently press the fingerprint lifting tape onto the surface. I do this in a smooth constant motion. This ensures complete adhesion between the tape and the powder, while eliminating air bubbles from being trapped under the tape. Gently pull the tape off of the surface and secure the edge of the tape onto the glossy side of the fingerprint backing card. I use the credit card again to carefully press the tape onto the card.
Using a pen or marker, I date and initial the edge of the lifting tape on the backing card. I recommend drawing a simple diagram and writing a short description of where the fingerprint was lifted. Finally, it’s important to detail in your report your exact actions on scene.
Solid fingerprinting techniques will increase the chances of lifting useable prints at a crime scene, which in turn increases the probability of identifying and arresting the suspect. It’s just good police work.
More Patrol
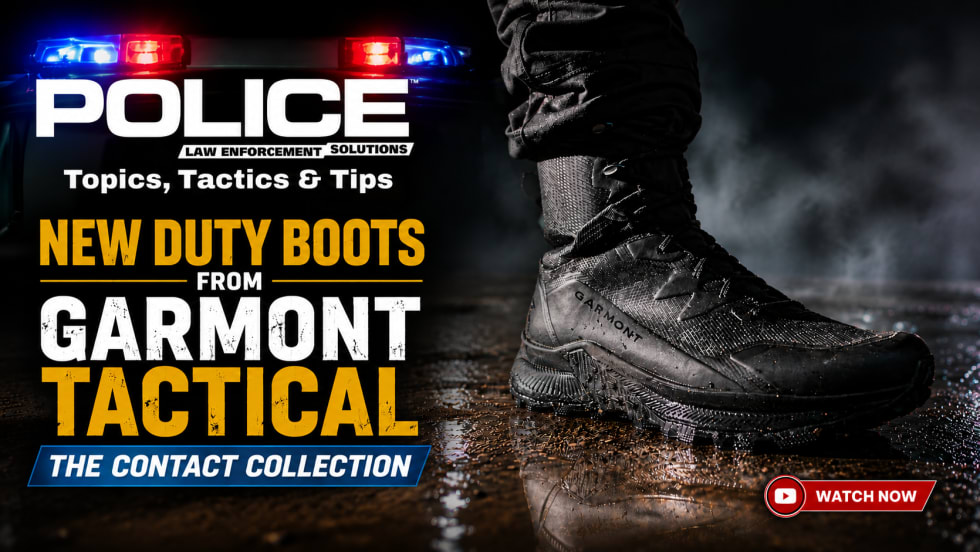
Garmont Tactical Contact Collection: New Duty Boots for Law Enforcement
Choosing the right duty boot can make a significant difference during long shifts. In this video overview, Kyle Ferdyn, of Garmont Tactical, introduces the new Contact Collection, designed specifically for law enforcement professionals seeking comfort, traction, and durability.
Read More →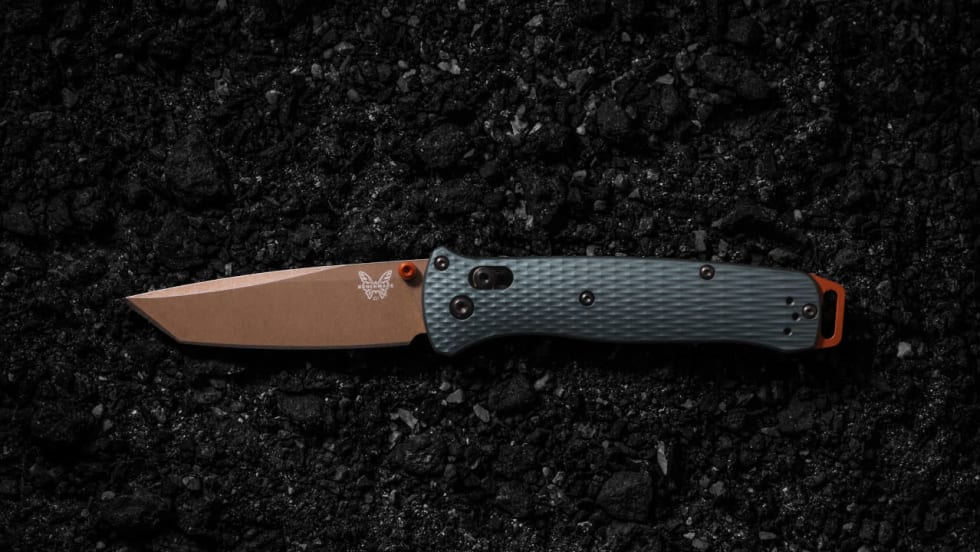
Benchmade Launches Taiga Green Bailout
Benchmade has launched its Taiga Green Bailout, which features an anodized aluminum handle, S90V stainless steel, and Burnt Copper hardware accents.
Read More →
Adept Armor Launches the Nova Titanium Combat Helmet: A Metal Ballistic Helmet at Composite-Helmet Weight
Adept Armor said its new Nova Titanium combat helmet delivers rated 9mm protection at 920 grams all-in, low backface deformation, edge-to-edge coverage, and an indefinite shelf life at roughly a quarter the price of premium polyethylene helmets.
Read More →
5.11 Expands Professional Services Line with Premium, Performance-Driven Scrubs Designed for Healthcare Professionals
The launch of high-performance medical scrubs marks another major expansion of 5.11’s growing Professional Services category, enabling hospitals and healthcare systems to outfit a wide range of roles.
Read More →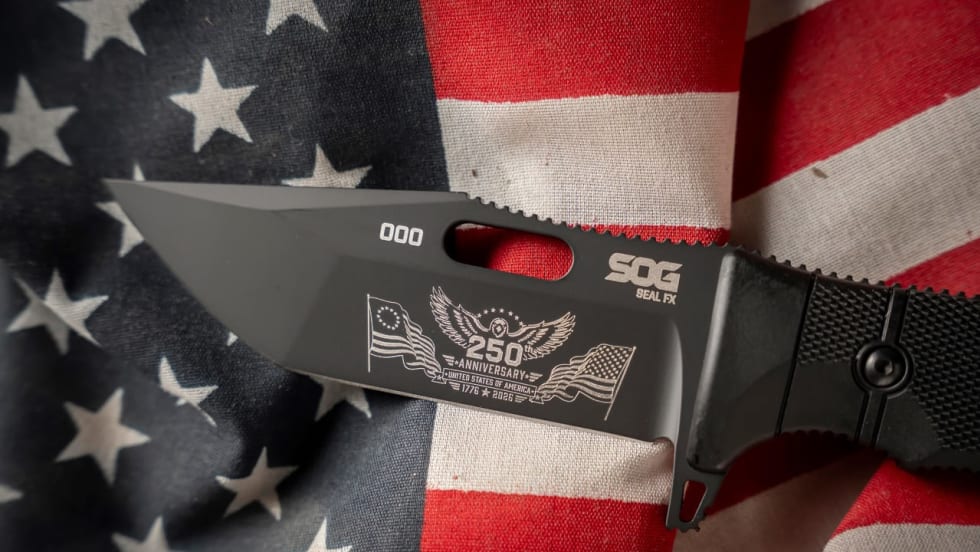
SOG Knives Unveils 250th Anniversary Limited Edition Fixed Blade
SOG Knives has debuted its 250th Anniversary Limited Edition SEAL FX Fixed Blade, and only 250 are available. It features an advanced 4.3-inch S35VN steel blade and a tough glass-reinforced nylon handle.
Read More →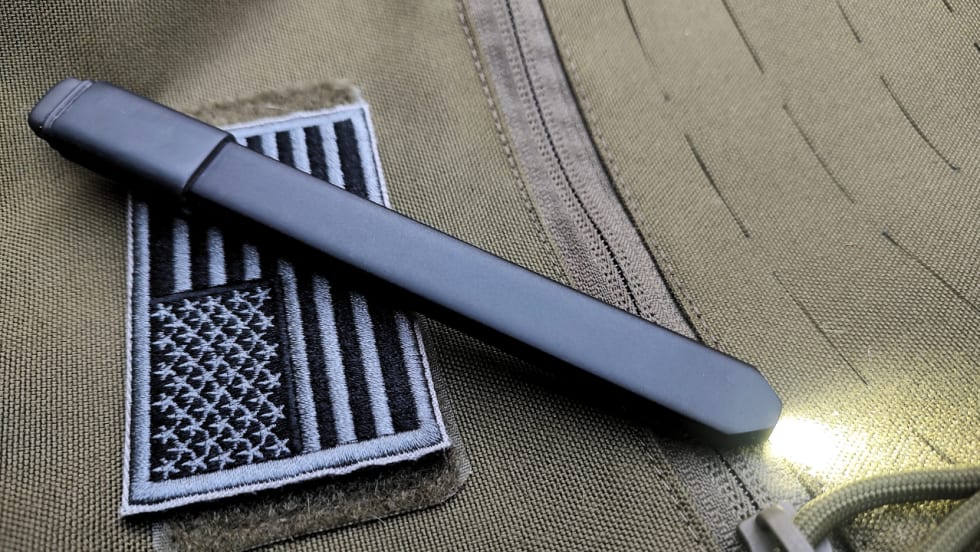
POLICE Product Test: Streamlight Wedge SL
The Streamlight Wedge SL is a high-performance light for inspection or administrative tasks that features USB-C charging and an output up to 500 lumens in a compact package.
Read More →
NLEOMF Officer of the Month Saved Child from Burning Vehicle
The National Law Enforcement Officers Memorial Fund named Officer Michael Jaycox of the San Jose Police Department (California) as the Officer of the Month for May 2026. Read more about Jaycox’s heroic actions.
Read More →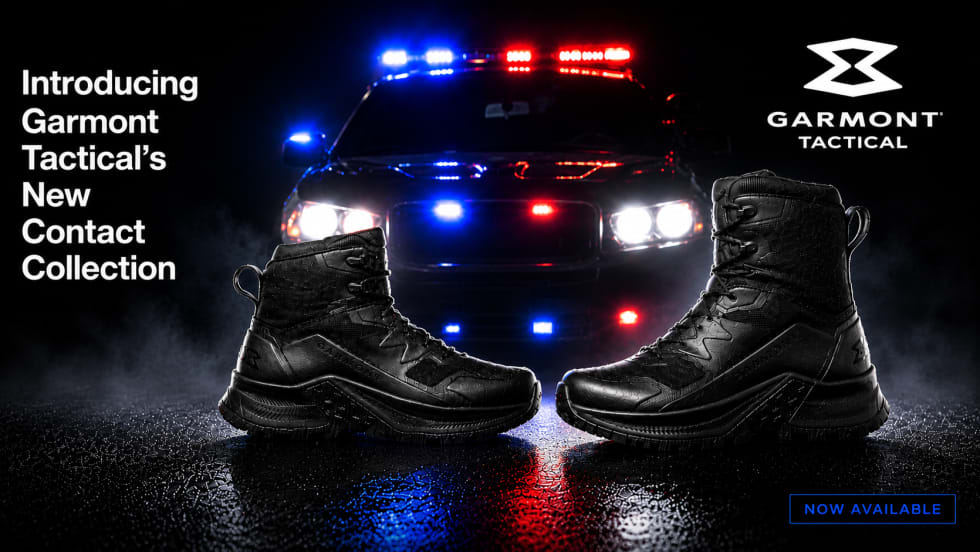
Garmont Tactical Introduces the Contact Collection for LE
Garmont Tactical has launched its Contact Collection, a new lineup of law-enforcement duty boots featuring 4-inch and 6-inch options, including waterproof models.
Read More →
Folds of Honor Celebrates Graduation Season as 1,613 Military and First Responder Family Scholars Earn Their Degrees
Every Folds of Honor scholar graduating in the Class of 2026 carries a story starting with sacrifice. Folds of Honor ensures it doesn’t end there. Since 2007, Folds of Honor has awarded nearly 73,000 educational scholarships to military and first responder families.
Read More →
Why Tennessee’s New Deadly Force Law Matters Beyond Tennessee
Tennessee’s new deadly force law is more limited than many may realize. Effective July 1, 2026, the law applies to a person who is not engaged in conduct that would constitute a felony or a Class A misdemeanor and who is in a place where the person lawfully resides. But it could have far-reaching influence.
Read More →