

Suspect Contact and Control
It's critically important for you to be able to control the suspect at the point of initial contact, and it is equally important for you to have control tactic options once the initial contact is made.
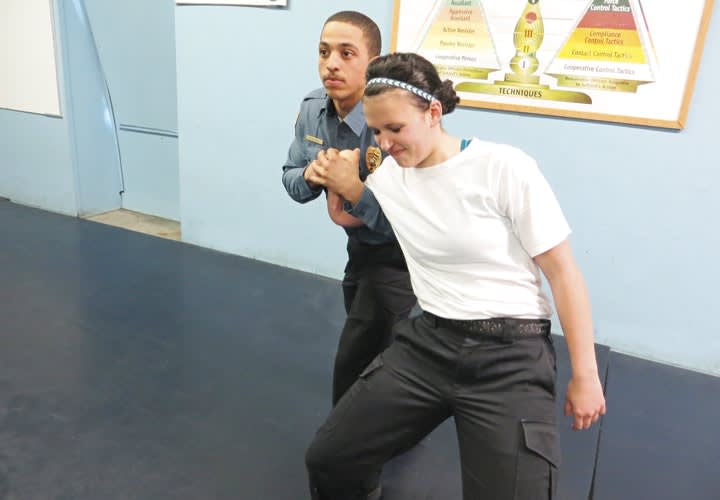
Photo: Michael Schlosser
The most important moment in making an arrest and the most likely time a suspect will resist is when you make initial contact. You know this. But it's easy for you to forget it.
The reason you are likely to forget is that the majority of arrestees comply, which, over time, causes you to acquire the mindset of "assuming compliance."
When you assume the arrestee will comply, you give the arrestee the upper hand if he or she decides to resist. And that's why you need to treat every arrest with the mindset: "I am ready for resistance, and even expecting it."
It's critically important for you to be able to control the suspect at the point of initial contact, and it is equally important for you to have control tactic options once the initial contact is made.
Five Options
At the University of Illinois Police Training Institute we refer to initial contact as "straight arm control." From initial contact or straight arm control, you have five other options for control depending on the amount of resistance from the arrestee. These five options include: rear wrist lock, gooseneck control, knee strike to the common peroneal nerve, straight arm takedown, and disengaging.
It is important for you to be able to perform these techniques in a manner that allows you to easily transition to any of them from the straight arm control. As with any arrest, it is always best to use the "principle of mass," which simply means a ratio of two officers to one arrestee.
The principle of mass has two advantages. First, the suspect is less likely to resist if he or she is outnumbered. Second, two officers have a better chance of controlling a subject than one. This results in less of a chance of injury to the suspect and officers.
Straight Arm Control
Straight arm control is the initial contact with the arrestee. This control is obtained by initially grabbing the arrestee's wrist with the same-side hand (right hand grabs right wrist or left hand grabs left wrist). Control of the wrist should be obtained so that you can bend the arrestee's hand for wrist manipulation. The other hand is placed just above the elbow with a "thumb up" grip and fingers in the bend of the arrestee's elbow. Both of these grips are important for transition into other control holds.
Rear Wrist Lock
The rear wrist lock is one of your best control options. In order to transition from the straight arm control to the rear wrist lock, fold the arrestee's arm behind his back while stepping beside the suspect and pulling down on his elbow.
The keys to good control using the rear wrist lock include: having the wrist as far across the arrestee's back as possible and then up toward the arrestee's head as far as possible, maintaining control of the elbow, and being able to manipulate the wrist for control and pain compliance. Everyone varies in flexibility and therefore how far the arm can be manipulated across the back and up will vary.
In order to keep the arrestee's arm from escaping, it is important to keep her elbow from coming free. This can be accomplished in two ways. One is to pull her elbow low enough so that the arrestee's shoulder, triceps, and elbow are all making contact with your center mass. Another way to maintain control is for you to tuck the arrestee's elbow under your armpit, like a football carry. If the suspect resists in this position, you should force her arm further across her back and higher. This will control the arrestee.
For pain compliance, place both of your hands on the arrestee's hand and manipulate her wrist so the arrestee's palm is moved toward her forearm. Be sure to give the arrestee commands to "stop resisting" and "place your other hand behind your back."
Once compliance is gained you should continue to control the arrestee in the rear wrist lock, but you will no longer have to apply pain compliance techniques.
Gooseneck Control
Again, all techniques are best used with two officers vs. one arrestee. The keys to good control using the gooseneck control include: maintaining a good grip, pulling the arrestee off balance, controlling the forearm, and manipulating the wrist for pain compliance.
To gain control of an arrestee using the gooseneck control, step back slightly and quickly pull the arrestee off balance, bringing the arrestee's elbow downward and his forearm into your center. The arrestee's forearm should be positioned below your head and you should keep as much of his forearm against your chest as possible. You should then place both hands on the arrestee's hand in such a position that his wrist can be manipulated downward in order to gain pain compliance.
Once compliance is gained it is important to continue some pressure for control. You should then bring your outside hand down to the arrestee's elbow, controlling the arrestee's elbow against the officer's body. Now step beside the arrestee and work the arrestee's wrist behind his back without losing control. This can be done by keeping the arrestee's arm bent as much as possible and not allowing the arrestee's elbow to move upward.
Knee Strike
If you are unable to manipulate the arrestee's arm into a control hold due to his resistance, you have the option of a knee strike to the common peroneal nerve just above and outside the knee. This can be used as a distraction technique, and it can also cause the arrestee to drop to his knees.
Use your outside knee and strike the arrestee in the side of the leg between the knee and hip. This may distract the arrestee long enough so that you can then manipulate his arm into a control hold. And if the arrestee drops, you can quickly control him on the ground.
Straight Arm Takedown
Another option from the straight arm control is to initiate a takedown. The straight arm takedown can be performed with little strength, relying on leverage.
In order to get the best leverage position, stay close to the arrestee while keeping the arrestee's arm in tight to your body. For example, if you have control of the arrestee's right arm, you should have your left foot close to the arrestee's right foot. With the arrestee's arm tight to your body, you should step behind the arrestee with your outside leg, rotate the arrestee's wrist forward, and drive down against the arrestee's triceps/elbow area.
Once the arrestee is on the ground, you can maintain control by facing the arrestee's palm upward, while applying upward pressure on the wrist and downward pressure on the triceps.
Disengaging
It is likely you have many tools available to gain arrestee compliance, including pepper spray and a TASER.
If you feel you cannot control the resisting arrestee, then you may disengage and use one of these tools. You should not become over-reliant on these tools; however, they are viable options based on certain circumstances.
As with all arrests, it is important to continually give the arrestee verbal commands. As simple as this sounds, many times when officers meet resistance they either become mute or foul language comes out of their mouths.
In today's world of videos going viral, you must remain professional (even when an arrestee is resisting). Give simple commands such as "stop resisting" or "you are under arrest" or "place your hands behind your back." And keep it clean.
Dr. Michael Schlosser is a retired lieutenant with the Rantoul (Ill.) Police Department, director of the University of Illinois Police Training Institute, and the Institute's lead control and arrest tactics instructor.
Dallas Schlosser is a certified Master Arrest and Control Tactics instructor through the University of Illinois Police Training Institute, and holds a 3rd degree blackbelt in Shinko-Ryu Karate-Do.
More Training
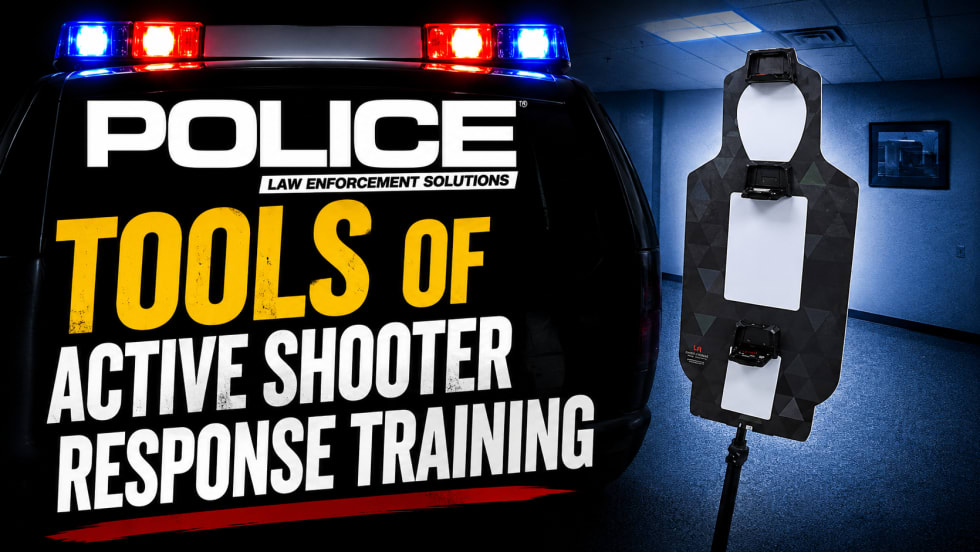
Tools for Active Shooter Response Training
What technologies help prepare officers for active shooter response situations? This behind-the-scenes look at law enforcement training explores shot simulators, smart firearms, laser target systems, and the tools used to build safer, more effective training environments.
Read More →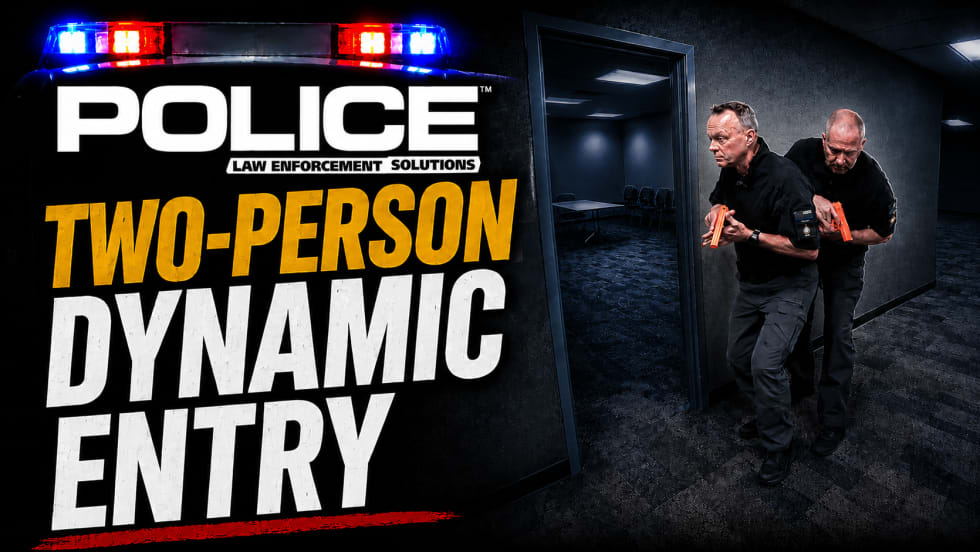
Two-Officer Tactical Doorway Entry Techniques
Entering a room during active-threat situations requires communication, coordination, and disciplined tactical movement. In this video, trainers from the United States Deputy Sheriff’s Association demonstrate critical room entry concepts, including fatal funnel awareness, team coordination, and safe tactical movement.
Read More →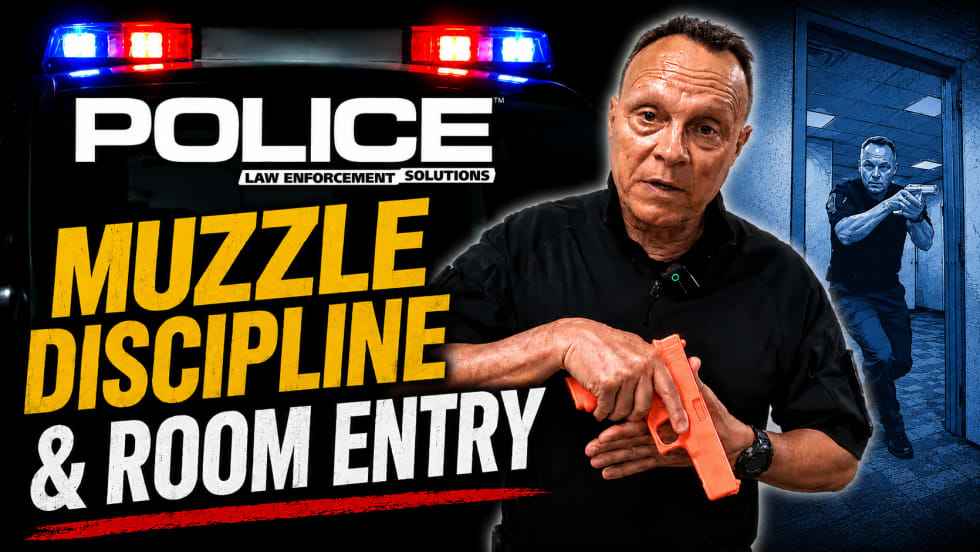
High Compressed Ready Explained | Muzzle Control For Room Entry
In this video, Mike Willis, law enforcement national training and program director for the United States Deputy Sheriffs’ Association, demonstrates the high compressed ready position and discusses muzzle control during room entry.
Read More →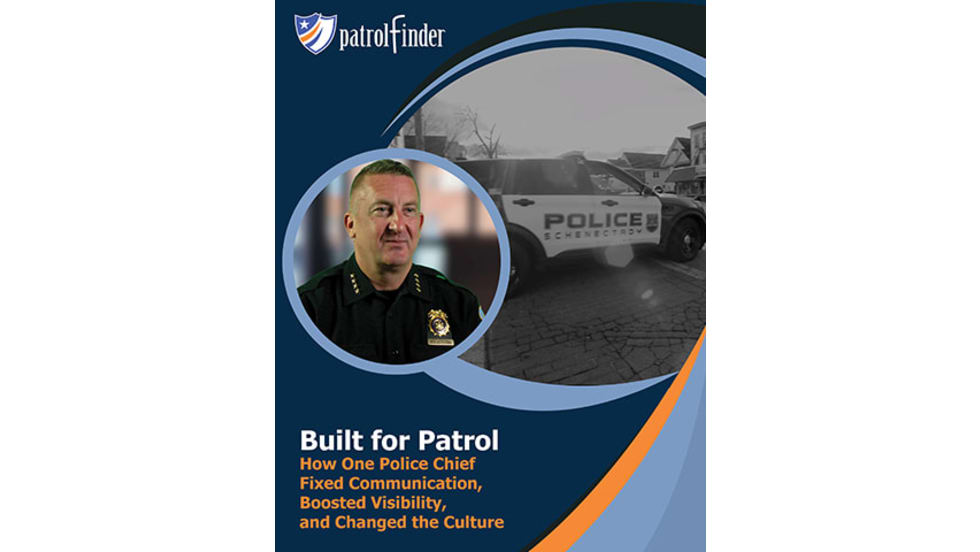
Built for Patrol: How One Police Chief Fixed Communication, Boosted Visibility, and Changed the Culture
Patrol work hasn’t changed—but the expectations on officers have. See how one police chief helped officers get the right information at the right time, improve patrol visibility, and strengthen trust without adding complexity or surveillance. This real-world story shows how patrol-driven technology can make the job safer, smarter, and more effective—starting on day one.
Read More →
Why Attend the DroneSense Innovation Summit by Versaterm?
Let’s hear from Ryan Bracken, head of product, about why your agency should send someone to the first annual DroneSense Innovation Summit by Versaterm in April.
Read More →
Caswell Live Fire Spins Off from InVeris
Caswell Live Fire has spun off from parent company InVeris, coinciding with the 100th anniversary of Caswell’s founding. Over the past 100 years, Caswell has developed pioneering solutions that support military, law enforcement, and commercial clients worldwide.
Read More →
When Do You Transport a Wounded Officer Instead of Waiting for EMS?
Thumbnail for video series POLICE Topics, Tactics & Tips with a yellow headline that reads When Do You Transport a Wounded Officer Instead of Waiting for EMS?
Read More →
How to Pick Your High-Risk Stop Location for Tactical Advantage
Hear veteran trainer Mike Willis, of the United States Deputy Sheriff’s Association, explain several considerations that can help you wisely pick your best spot to initiate high-risk or felony traffic stops.
Read More →
Coffee Break with Police Experts: Using Your Patrol Vehicle for Cover
In this video, hear from Dustin Mowery, a product specialist at Team Wendy, as he discusses how to best use a patrol vehicle for cover.
Read More →
Preventing Blue-on-Blue Shootings
In this video, Mike Willis, law enforcement national training and program director, United States Deputy Sheriff’s Association, discusses how to prevent blue-on-blue shootings.
Read More →