

Tactical and Practical Handcuffing
Patrol handcuffing techniques vary by department policy and individual officer preference. The goal should always be simple and direct: Get the handcuffs on the suspect. However, being prepared with a handcuffing strategy and technique will improve your confidence on the streets.
Patrol handcuffing techniques vary by department policy and individual officer preference. The goal should always be simple and direct: Get the handcuffs on the suspect. However, being prepared with a handcuffing strategy and technique will improve your confidence on the streets.
I advocate a simple and proven method of handcuffing that focuses on maximum control of the suspect without dependence on a pain compliance hold. Many handcuffing techniques start with a standard twist-lock or rear wrist-lock and assume the suspect's pain tolerance is low.
These techniques have a tendency to agitate potentially non-combative suspects. In addition, they do not leave many follow-up options if the suspect suddenly becomes non-compliant. Most importantly, wristlock techniques only control one of the suspect's hands at a time.
In addition to simply "getting the handcuffs on," I recognize three additional goals that should be adhered to while handcuffing:
Controlling both of the suspect's hands and arms, prior to and during the application of handcuffs.
Maintaining a position of power, control, and advantage during the entire arrest scenario.
Utilizing a technique that provides maximum security and opportunity for counterattack.
The handcuffing techniques in this article provide maximum control of the suspect and offer several options for counterattack. Over the past year I have personally used these techniques to arrest and control compliant and combative suspects to great success.
Slight adjustments will have to be made depending on the flexibility of the suspect. Generally speaking, the more flexible the suspect, the further up his arm you should grip. Less flexible suspects must be gripped closer to their forearms. Muscle bound or overweight suspects present a special challenge. In these cases, I recommend gripping the clothing of the suspect's far arm until you have applied the handcuff.
Gaining Control
I start by ordering the suspect to face away from me and to put his hands behind his back. After compliance, I offset myself at a 45-degree angle to the left side of the suspect's body. My hands are up and my feet are in a bladed stance with my weapon back.
I approach the suspect while maintaining my bladed stance. With open palms, I grip the suspect's shoulders. This is potentially the most dangerous part of any handcuffing technique. The suspect is most likely to resist as soon as the initial contact takes place. Immediately after I grab the suspect's shoulders I run my palms down his arms and hook my hands behind his elbows.
Once the suspect's elbows are hooked I bring them together. I release my left hand from the suspect's left arm and transfer it to his right elbow. This is accomplished by wrapping my left arm behind the suspect's left arm. My right hand assists in this motion by transferring his right arm to my left hand. At this point, the suspect's left arm is hooked underneath my left armpit and his right arm is controlled by my left hand.
Depending on the situation, I may use my right hand to pull down on the suspect's right wrist to further strengthen and tighten the lock. Once the lock is in place, my right arm is free to transition to my firearm or impact weapon if necessary. If I were a left-handed shooter, the order of events would be reversed.[PAGEBREAK]
Notice I still maintain a bladed stance with my weapon side back. My head is buried directly below the suspect's head and applies pressure to his left shoulder. This helps to lock his left arm into place, and to protect me from reverse head-butts. My right hand pushes the suspect's hips away from me to create a "bow" in his back.
This is a very powerful and tight position that affords me maximum security and opportunity for counterattack. It should take approximately one to three seconds to reach this position after the initial grip on the suspect's shoulders is made. Several suspects and role-playing officers have commented on the lack of pain, yet incredible control the final position affords.
From this position I have several offensive counterattacks at my disposal. I will discuss my two personal favorites. However, a creative officer can develop specific follow-up techniques based on his physical attributes and department policy. Depending on the severity of the situation, officers should be mindful of the opportunity to apply a carotid restraint.
Both of the suspect's arms are trapped, while the officer's free hand has a clear path to the neck. When applying the carotid restraint, I circle my right arm around the suspect's neck and start to apply pressure. I then bump my hips into the suspect's hips to offset his balance. Immediately following, I take two steps backward while dropping my hips downward.
The suspect is unable to compensate for his loss of balance and will fall to the ground directly in front of me in a seated position. I end up kneeling behind the suspect or seated with my heels inside his thighs, ready to apply the carotid restraint.
Down On the Ground
My next option is to take the suspect to the ground. I hook my left hand behind the suspect's left shoulder and my right hand behind the suspect's right shoulder. This is basically a return to the position depicted in the first photograph. The difference is subtle but important. I drive my palms up the suspect's back and push the knife-edge portion of my palm between the suspect's shoulder blades.
Once I secure the lock on the suspect's arms, I hook my right heel around the suspect's right ankle or foot. I then quickly turn to my right and drop the suspect onto the ground. I make sure that I land with both arm hooks still in place. I land directly on top of the suspect and use his body to help break my fall. This is an extremely powerful throw because the suspect is unable to break his fall.
Clamping Down
The next series of techniques is specific to handcuffing and assumes the suspect has thus far been compliant. I deploy my handcuffs with my free right hand and prepare them for application. The two techniques I advocate are simple to perform and rely on gross motor skill techniques.
In the first technique, I stage my handcuffs against my right leg. I position them with the single-strand down and grip the chain in the palm of my hand.
I pull the suspect's arms away from his lower back with my left hand and arm. I then use the traditional "push" method to handcuff the suspect's wrists. I maintain the lock with my left arm during the entire handcuffing procedure.
The second technique is utilized if I am unable to bring the suspect's wrists close enough together to handcuff them at the same time. This may be the case if the suspect is extremely muscular or overweight.
I stage the handcuffs in the same manner as I did in the first technique. I handcuff the suspect's right wrist first and then release my left hand from his right arm. My right hand simultaneously takes a positive grip on the chain of the handcuff and prepares to lock the left wrist. My left hand transitions to the suspect's left wrist just above the portion of the wrist I plan to handcuff. I then handcuff the suspect's left wrist by pushing his left wrist toward my right hand.
The same principles of movement may be utilized if the suspect is standing, kneeling, or prone. In addition to handcuffing, this technique provides excellent control of a suspect during a pat down search. If used for searching, the free hand circles around the suspect's body to search for contraband or weapons.
Greg Amundson is a patrol deputy in California and a soldier in the Army National Guard. He is a California state certified Defensive Tactics Instructor and expert witness on peace officers' use of force. He is also an instructor for Crossfit, Krav Maga, and Integrated Tactical Response.
More Patrol

PositionPTT & Pryme Combine Communication Technologies to Deliver Distracted Driving Compliance
Pryme Radio Accessories and hardware/software maker PositionPTT join forces to advance hands-free communications and ensure Department of Transportation compliance using an integrated system of push-to-talk platforms, devices, and audio equipment.
Read More →
Justice Department Releases $25M in Law Enforcement Grants & Resources
The Office of Community Oriented Policing Services has just released $25 million in new grant Notices of Funding Opportunities (NOFOs) to support law enforcement. The recently released NOFOs include the Safer Outcomes: Enhancing Crisis Response Training for Law Enforcement Program and other grant programs.
Read More →
What Makes a Laptop Rugged or Fully Rugged?
What separates a rugged laptop from a fully rugged one? In this video, two Panasonic Connect experts explain the military testing, IP ratings, durability standards, and real-world features that help law enforcement officers rely on their computers in any environment.
Read More →
Avon Technologies Appoints Vasilios Brachos as Team Wendy President
Longtime ballistic helmet leader Vasilios Brachos has been selected to guide the next chapter of protection, innovation, and growth at Team Wendy.
Read More →
Brinc Raises $125M to Put a 911 Response Drone on Every Police and Fire Station Roof
The latest round of funding, $125 million, can help fuel Brinc’s mission to deploy 911-response drones at the 80,000 police and fire stations across the United States.
Read More →
Garmont Tactical Contact Collection: New Duty Boots for Law Enforcement
Choosing the right duty boot can make a significant difference during long shifts. In this video overview, Kyle Ferdyn, of Garmont Tactical, introduces the new Contact Collection, designed specifically for law enforcement professionals seeking comfort, traction, and durability.
Read More →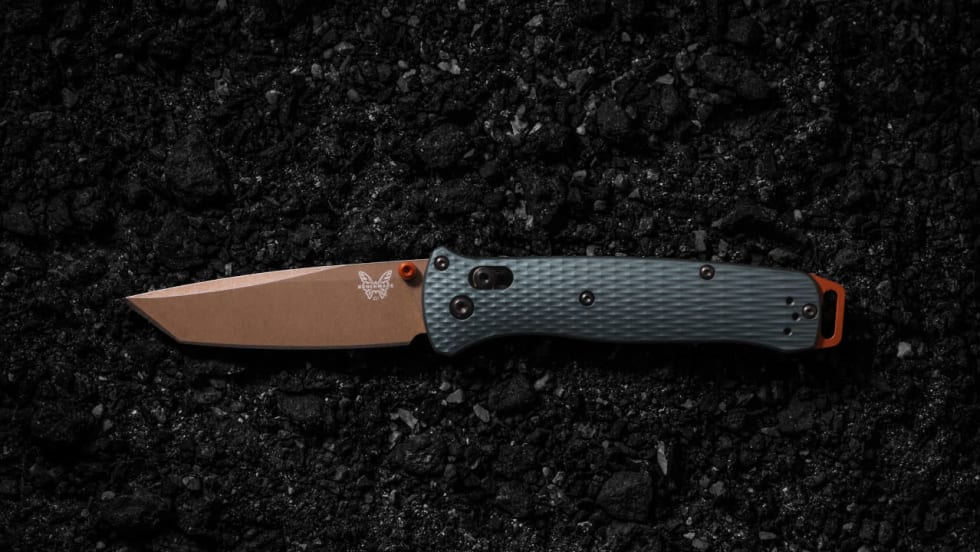
Benchmade Launches Taiga Green Bailout
Benchmade has launched its Taiga Green Bailout, which features an anodized aluminum handle, S90V stainless steel, and Burnt Copper hardware accents.
Read More →
Adept Armor Launches the Nova Titanium Combat Helmet: A Metal Ballistic Helmet at Composite-Helmet Weight
Adept Armor said its new Nova Titanium combat helmet delivers rated 9mm protection at 920 grams all-in, low backface deformation, edge-to-edge coverage, and an indefinite shelf life at roughly a quarter the price of premium polyethylene helmets.
Read More →
5.11 Expands Professional Services Line with Premium, Performance-Driven Scrubs Designed for Healthcare Professionals
The launch of high-performance medical scrubs marks another major expansion of 5.11’s growing Professional Services category, enabling hospitals and healthcare systems to outfit a wide range of roles.
Read More →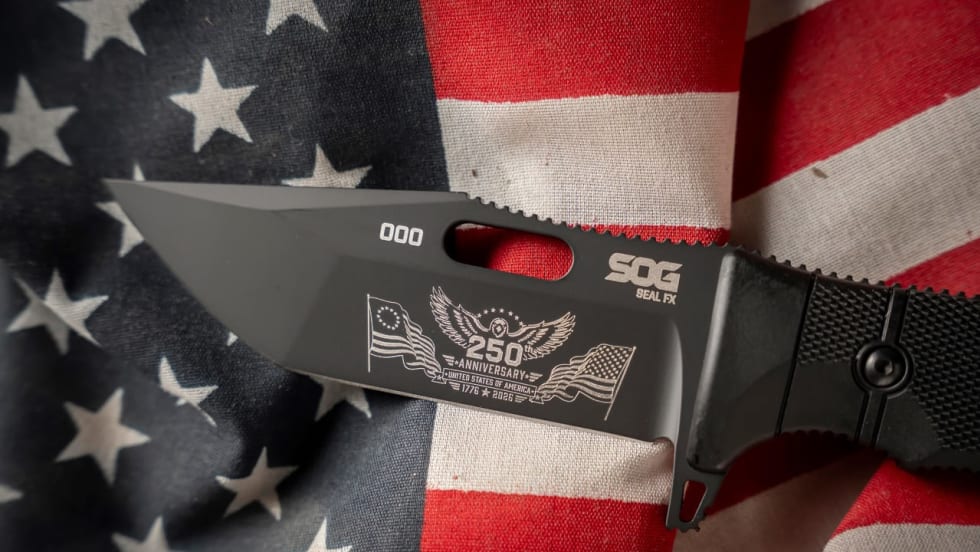
SOG Knives Unveils 250th Anniversary Limited Edition Fixed Blade
SOG Knives has debuted its 250th Anniversary Limited Edition SEAL FX Fixed Blade, and only 250 are available. It features an advanced 4.3-inch S35VN steel blade and a tough glass-reinforced nylon handle.
Read More →