

How To Photograph Injuries
Good photographs documenting physical injuries start even before the camera is out of the bag, because you need to have the proper mindset. These photos aren't just for police departments. They'll be viewed by the prosecutor, defense attorney, judge and, most importantly, the jury will scrutinize your work. Good composition, proper exposure and attention to detail speak volumes about your skill and dedication. Sloppy, out-of-focus images give the impression of incompetence.
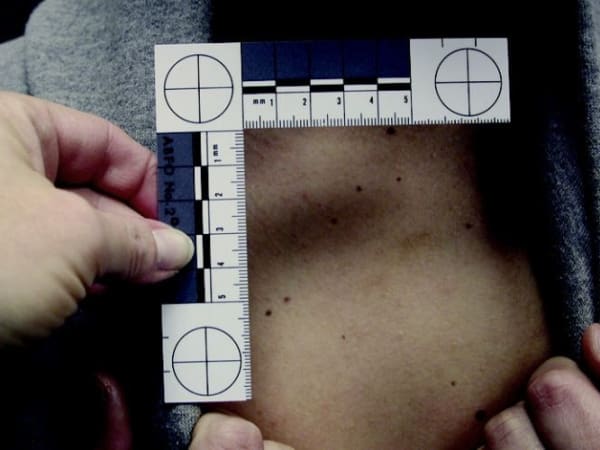
The scale should be held closer to the victim's chest so that it records the size of the bruising and doesn't cast a shadow.
Quality photos of a victim's injuries are essential for the successful prosecution of an assault or abuse case. Often patrol officers take the most important pictures in these cases.
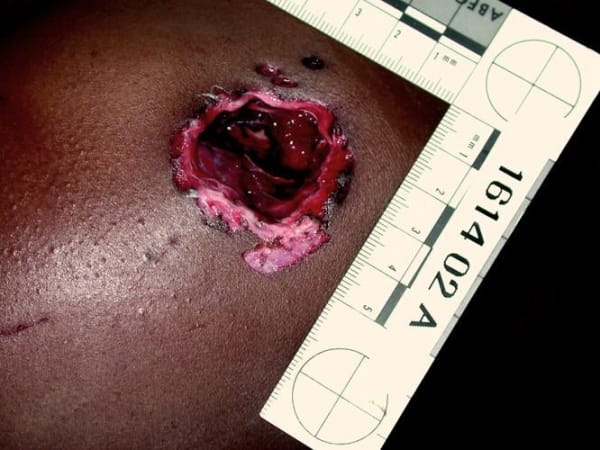
The scale shows the size of the wound, almost 5 inches in width.
This homicide victim was shot point blank with a 12-gauge shotgun slug.
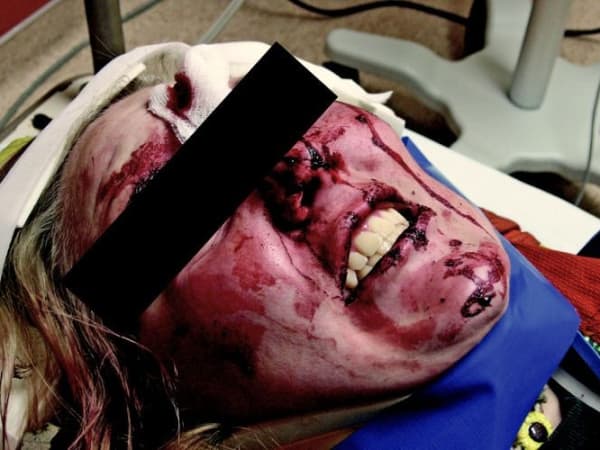
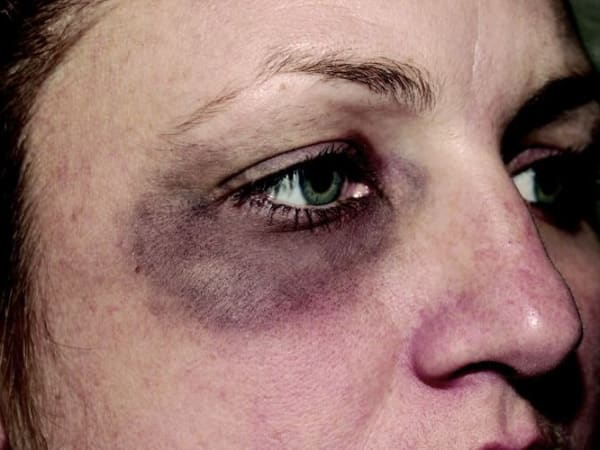
Photos taken before a victim is cleaned up, such as this one in a hospital setting, can be persuasive to a jury.
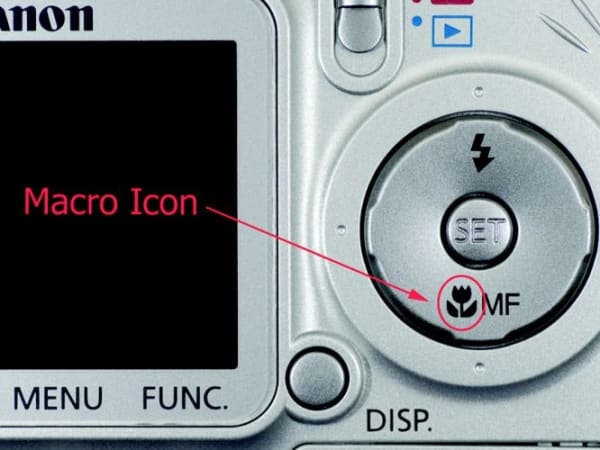
A digital point-and-shoot camera can do a great job photographing injuries, especially when you use the macro setting. Macro photography is close-up photography.
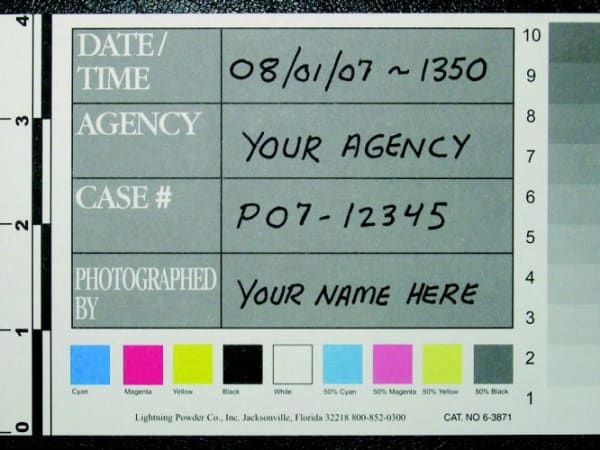
A color cover sheet should be photographed both to capture information and provide values for color correction.

This image shows the proper positioning of a scale.
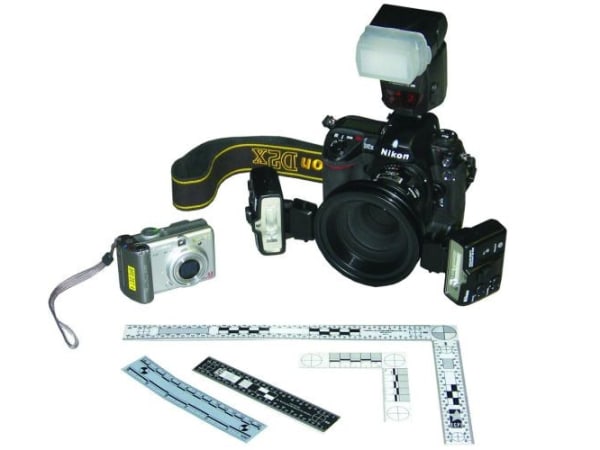
You'll need several pieces of gear to photographically document injuries. A digital SLR (single lens reflex) camera with a dedicated macro lens and ring flash system is preferrable. If a point-and-shoot is used, it needs an optical zoom lens, good built-in flash, a macro setting and flash control. Several scales can be effective, such as the ABFO (American Board of Forensic Odontology) bike mark scale for small injuries. Use a 90-degree scale for larger areas.
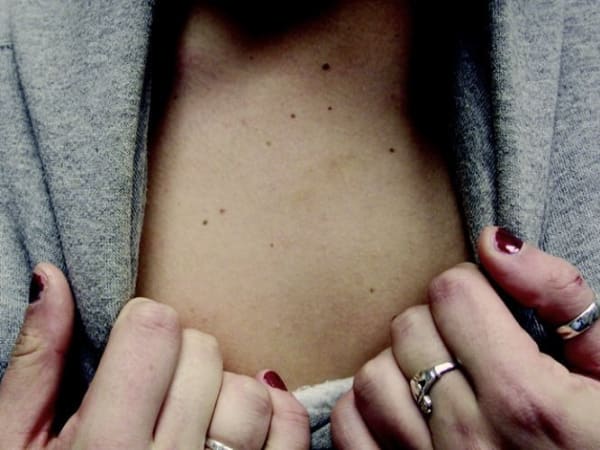
Light bruising on a victim's chest.