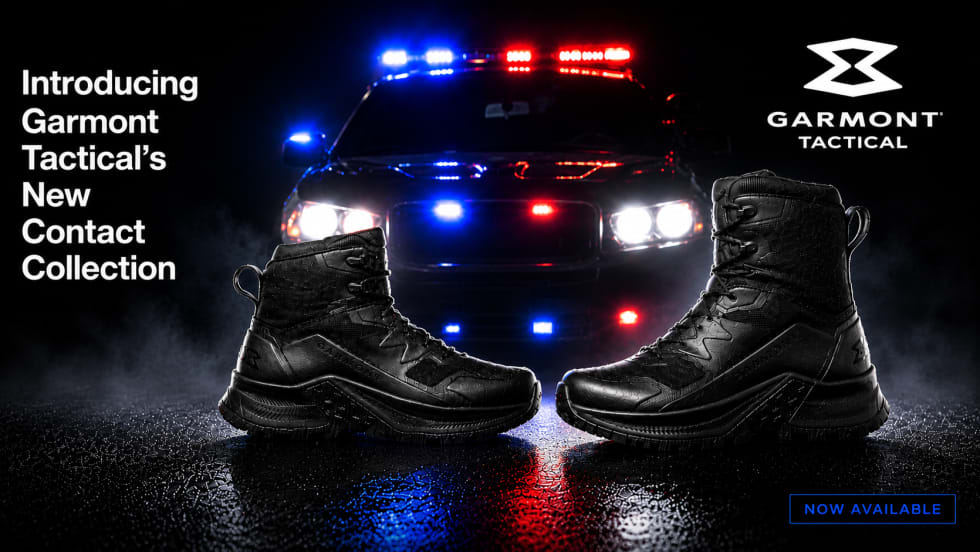
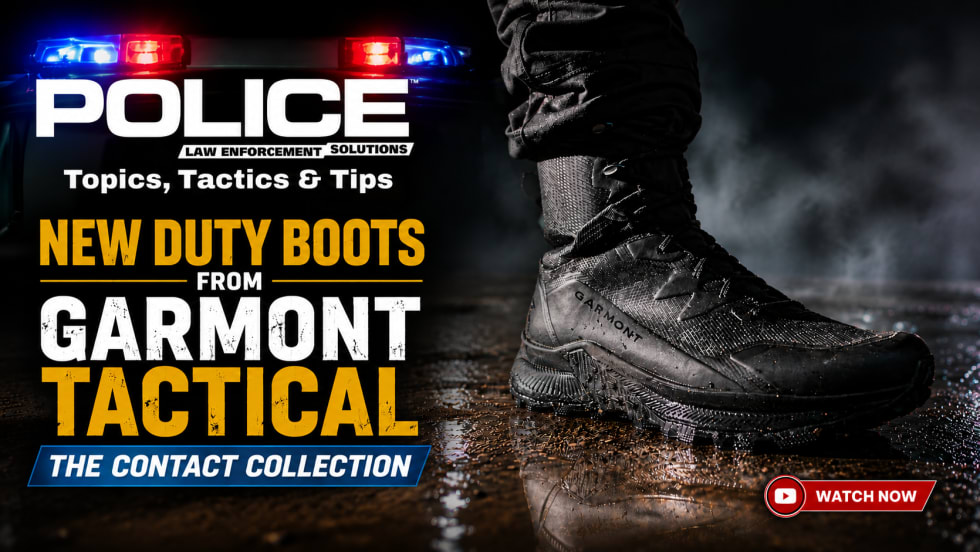
Gaining Compliance with Targeted Pressure

There are pressure-sensitive areas on the body that can cause pain and/or become distractors when triggered, and thus can be used when attempting to arrest an active resister or aggressive assailant.

Photo: Michael Schlosser and Dallas SchlosserPhoto: Michael Schlosser and Dallas Schlosser

There are many techniques and tactics law enforcement officers can use to gain compliance from resisting suspects. Some of these techniques require the use of the many tools on your duty belt. But there are situations where empty-handed techniques can be just as effective.

One empty-handed technique that some officers seem to have forgotten is the application of pressure to certain sensitive areas of a suspect's body to gain compliance. Pressure point techniques have been taught in police work for many years, but since a number of less-lethal weapons have become readily available, officers have often chosen to employ tools when activating simple pressure points would be just as effective.

There are pressure-sensitive areas on the body that can cause pain and/or become distractors when triggered, and thus can be used when attempting to arrest an active resister or aggressive assailant. This is not to say that other tools should be avoided, but in some situations, pressure point techniques are still effective and should not be
ignored.

Pressure and Strikes

Deciding which pressure point to activate will depend on what is available and the particular situation, as well as the purpose of triggering the point: to cause pain, to direct, or to distract. There are dozens of pressure-sensitive areas on the human body, but you don't have to learn them all to be effective. Knowing just a few basics can help you gain compliance from a resisting suspect.

There are two ways to activate pressure-sensitive areas, either by simply applying pressure or by striking. This will depend on the area of the body where the pressure point is located and the goal of the activation.

If applying pressure is in order, it is important to stabilize the area. For example, if you are activating a pressure point on the arrestee's head, then the head must be stabilized. This will create pressure and counter pressure, both of which are necessary for an effective pressure point. If a strike is to be used, it is best to have some control of the suspect in order to ensure accuracy, but this is not a necessity.

It is important for you to give verbal commands with an active resister. Simply saying, "Stop resisting," is not enough, especially if pressure points are being applied, as it is important that the arrestee know what he or she should do to make the pain stop. As such, the officer must be as specific as possible, for example by saying, "Put your hands behind your back." Therefore, once the arrestee complies, it is vital to alleviate the pressure.

Pressure points can be used on someone who is actively resisting an arrest or attacking an officer. They should not be used on passive resisters who remain docile, since they are not being aggressive but are simply failing to do what is being asked of them. With passive resisters, you simply have to do to the arrestee what they are refusing to do. For example, if they will not place their hands behind their backs, then you should place them in this position. However, if an arrestee "tenses up" to avoid this manipulation then he or she can be considered an active resister and pressure points are now a viable option to ensure compliance.

Pressure Points

Here is a look at some key locations on the human body that are both susceptible to direct pressure activation and easily accessible to a law enforcement officer during a confrontation.

Mandibular Nerve (behind the ear)—With a thumb or knuckle, you can apply pressure just behind the ear on the back of the jaw. The pressure should be applied toward the neck and then forward at a direction toward the opposite eye. An example of using this pain compliance technique might be when an active resister is taken down with arms under his or her chest. If you can't pull the arms out from underneath the arrestee, you can activate this pressure point and clearly command the suspect to remove her arms from underneath her body.

Infraorbital Nerve (under the nose)—Using a ridge-hand, apply pressure just under the nose inward and upward. Warning: Any pressure point activation near the mouth requires extreme caution, as there is the risk of being bitten by the suspect. As with the activation of the mandibular nerve, this technique can be used as a form of pain compliance, but is also directional and therefore can be used to force a suspect to stand up when he or she is refusing and resisting arrest.
Hypoglossal Nerve (under the jaw)—Using your fingers on a strong spear-hand, roll your fingers past the lower jaw and then angle the pressure upward toward the opposite side of the head. This is a safer technique for the officer than the infraorbital pressure point because it is further from the resister's mouth. This can be used simply for pain compliance, but like the previous move is also directional and thus can be used to get a resister to stand up when refusing and resisting arrest.
Brachial Plexus Clavicle Notch (collar bone)—Place one or two fingers between the collar bone and the trapezius muscle near the neck. Now apply pressure toward the arrestee's opposite rear pocket. As with the previous pressure point techniques, this movement is also directional. Activating this pressure point would encourage a resistive subject to sit down when refusing and resisting. For example, an arrestee in handcuffs may be refusing to get into the squad car. This technique also looks better than physically grabbing hold of the arrestee and fighting them into the vehicle.

Strike Targets

Here is a look at some pressure points on the human body that are susceptible to strikes and are easily accessible to a law enforcement officer during a confrontation.

Radial Nerve (forearm)—Strike this point with a hammer fist, using the forearm to strike that of the arrestee midway up the arm toward the elbow. This technique is effective for when the resistive suspect is holding onto an object or grabbing hold of an officer's wrist. A strike to the radial nerve is likely to cause the resistive suspect to let go of what he or she is holding. You or your backup officers can then gain control of the suspect with other techniques.

Common Peroneal Nerve (side of leg)—Strike the arrestee on the side of the leg between the hip and the knee with your knee or shin. This is a good technique for getting a resistive subject to place his hands behind his back, while you are controlling the arrestee's arm. Striking the common peroneal nerve will not only cause pain, but will also work as a distractor to allow you to initiate a control hold. This strike will often result in the resistive subject losing control of his leg, causing him to go to the ground. If you are under attack by an aggressive assailant, you may choose to initiate a shin kick to the attacker's common peroneal, which may also cause him to go to the ground.

Brachial Plexus Nerve (side of neck)—Strike with the back of the forearm, front of the forearm, or back of the hand to the side of the subject's neck. A good situation for using this technique is when an aggressive assailant has ahold of another officer or victim. Striking the brachial plexus is not only a great distractor, but it may cause the arrestee to become disoriented or even temporarily unconscious.

Knowledge of pressure-sensitive areas is useful but it is just one tool in every officer's tool box. It is important for you to know that not every person will be sensitive to these pressure points and it is always a possibility that you may need to transition to another tool or technique. Also, the highly motivated arrestee and/or the arrestee under the influence of certain drugs may continue to resist or fight despite the proper application of these techniques.

Dr. Michael Schlosser is a retired lieutenant with the Rantoul (IL) Police Department, director of the University of Illinois Police Training Institute, and the Institute's lead control and arrest tactics instructor.

Dallas Schlosser is a certified master arrest and control tactics instructor through the University of Illinois Police Training Institute, and holds a third-degree black belt in Shinko-Ryu Karate-Do.

Page 1 of 2351
Next Page